
Browse documentation
Brand Lock AI
What your workspace's brand row is, how to draft and confirm your brand voice, add logos, colours and a guideline document, generate a brand book, and how agents and RUPA read it.
One brand row, read by everything your agents make
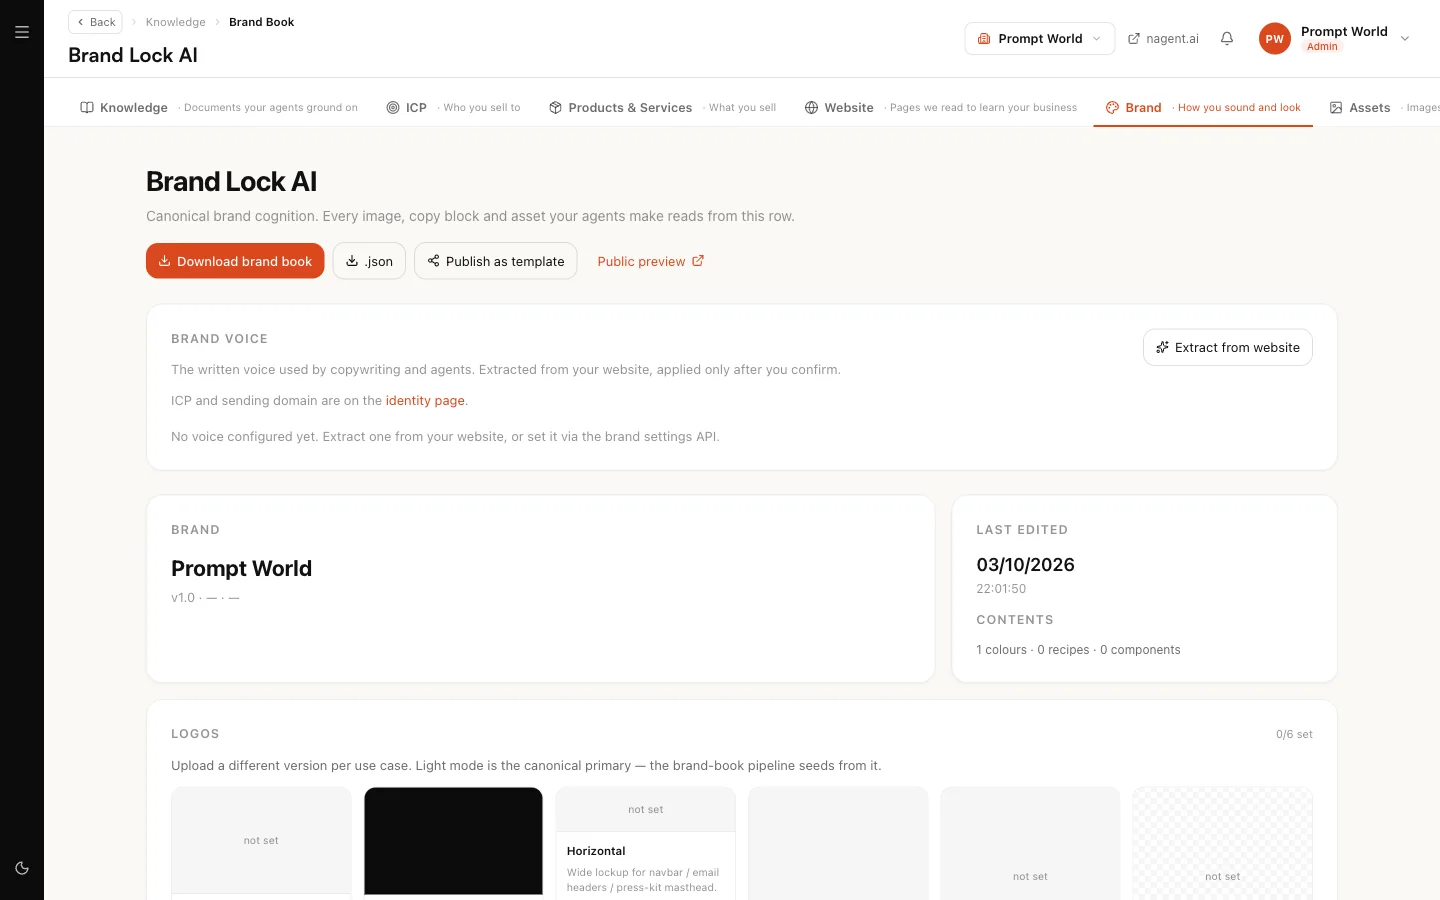
Your workspace has exactly one brand. It lives on the Brand Lock AI screen, and the screen says what it is for: "Every image, copy block and asset your agents make reads from this row." Copy drafted by an agent, an image rendered by RUPA and the colours of your own workspace all start here.
Open the Knowledge Hub's Brand tab, or go to nagent.ai/admin/knowledge/brand. The older address nagent.ai/admin/brand opens the same screen.
What a new workspace starts with
When your workspace is created, Nagent gives it a starter brand row. It carries the company name you signed up with and is neutral everywhere else: no palette, no fonts, and an identity line that says your brand has not been described yet. Nothing from any other company is copied into it.
The name alone does not count as setting your brand. On Workspace set-up, the Workspace identity card stays open until you have set the brand a customer will actually see.
While the brand is still the starter from sign-up, the page opens with Generate your brand book. Give it your website address and select Generate brand book: Nagent reads the site and writes a full brand document (colours, voice, components and forbidden patterns) in about a minute. The card goes away once it has run, or as soon as you save anything on the page yourself.
You can also build the brand by hand with the steps below: confirm a voice, add logos, set colours, and fill in the rest on the JSON tab.
Step 1. Draft and confirm your brand voice
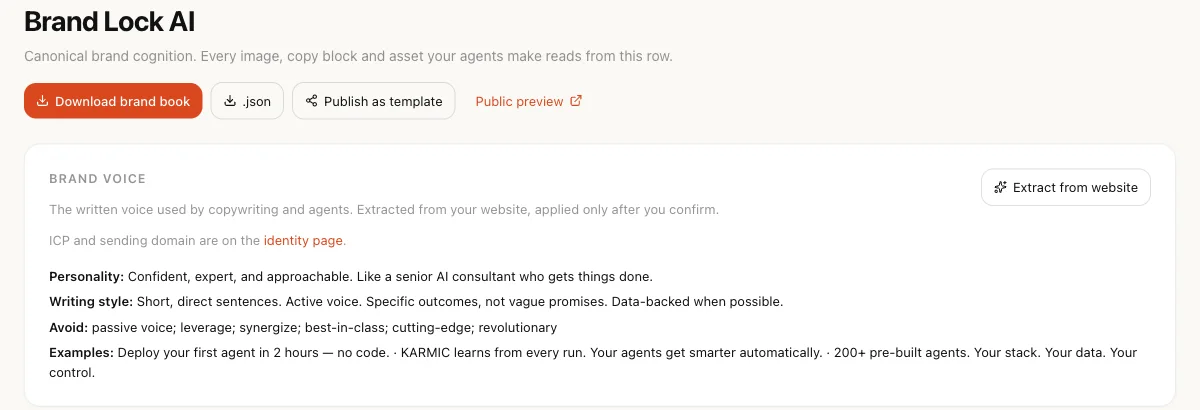
The Brand voice panel sits at the top. It is "the written voice used by copywriting and agents. Extracted from your website, applied only after you confirm."
- Make sure your website has been crawled first. See Bootstrapping from your website.
- Select Extract from website. Nagent reads up to eight of your crawled pages and writes a draft. If nothing has been crawled, it says so and spends nothing.
- Read the card marked Extracted draft, awaiting review. It shows a personality, a writing style, what to avoid, examples taken from your own site, and a confidence figure.
- Select Confirm to make it your voice, or Reject to discard it. Rejecting is safe: you can extract again at any time.
Once confirmed, the panel shows the voice and when it was confirmed.
Our logic
A voice read off a website is a guess about how you want to sound. Agents therefore read the confirmed voice only, never the draft. Until you confirm one, they write in neutral copy with no brand identity in it, rather than borrowing someone else's.
Step 2. Add your logos
The Logos card holds up to six versions of your mark, each used where it fits:
| Version | Where it is used |
|---|---|
| Light mode | The default, on light backgrounds |
| Dark mode | Inverted, for dark sections |
| Horizontal | Wide lockups such as email headers |
| Vertical | Stacked lockups for tall layouts |
| Square (1:1) | App icons, social profile pictures, badges |
| Favicon | Browser tabs, small enough to read at 16 to 32 pixels |
Upload an image (PNG, SVG, JPG or ICO, up to 500 KB) into each slot you have. Light mode is your primary logo: the visual brand book is seeded from it, so upload that one first.
Step 3. Upload your brand guidelines
If you have a published brand guideline, upload it in Brand guideline document: PDF, Markdown or plain text, up to 10 MB. "Your published guideline outranks anything we read off the website." It is stored on the brand row and read whenever the brand document is generated from your site.
If a generated brand book came back with sections missing, a banner names them and suggests uploading your guideline or filling them in on the JSON tab.
Step 4. Set your colours
On the Visual DNA tab you see your palette (primary, secondary, tertiary, neutral and any semantic colours), typography and composition style. The Workspace colours card sets the page background and body text colour of your own workspace. Leave a field blank to keep the current colour. Saving those two needs workspace settings permission; without it the card is read only.
Step 5. Generate the visual brand book
The Brand book card builds four images from your logo: an identity poster, a logo variations sheet, a construction grid and an animation storyboard. Select Generate brand book. The screen says it takes about a minute and costs about $0.20. Tiles appear as each finishes, and you can download them. The button is disabled until you have uploaded a logo, because the logo is the seed for every tile.
The rest of the brand document
The tabs under the brand book hold the full brand document:
| Tab | What it holds |
|---|---|
| Overview | Identity, positioning, personality, archetypes and audience |
| Visual DNA | Palette, workspace colours, typography and composition |
| Components | Read only for now; the per-component editor is coming soon |
| Cognition | The journey your brand takes a customer on |
| Communication | Tone of voice and linguistic rules |
| Recipes | How each asset type should look: social card, ad, landing page, blog post, email, vertical video, creator-style video and slide |
| Forbidden | Patterns your brand never uses |
| JSON | The whole document, editable, checked when you save |
Use Download brand book for a Markdown copy, or .json for the raw document. Until the structured editors ship, the JSON tab is where you change anything the other tabs show; a save that breaks the document's shape is refused with the reason.
How agents and RUPA read it
- Writing agents build their voice from your brand name, tagline, description and confirmed voice. With no confirmed voice and nothing else set, they fall back to neutral copy.
- RUPA, the image agent, adds your brand guidance and your logo to a brand-locked render. Before it renders, it checks your brief against the words your brand book bans and lists those it found. Rules it cannot check from text, such as logo placement, are listed as Needs your eye rather than ticked, because nothing inspects the finished image.
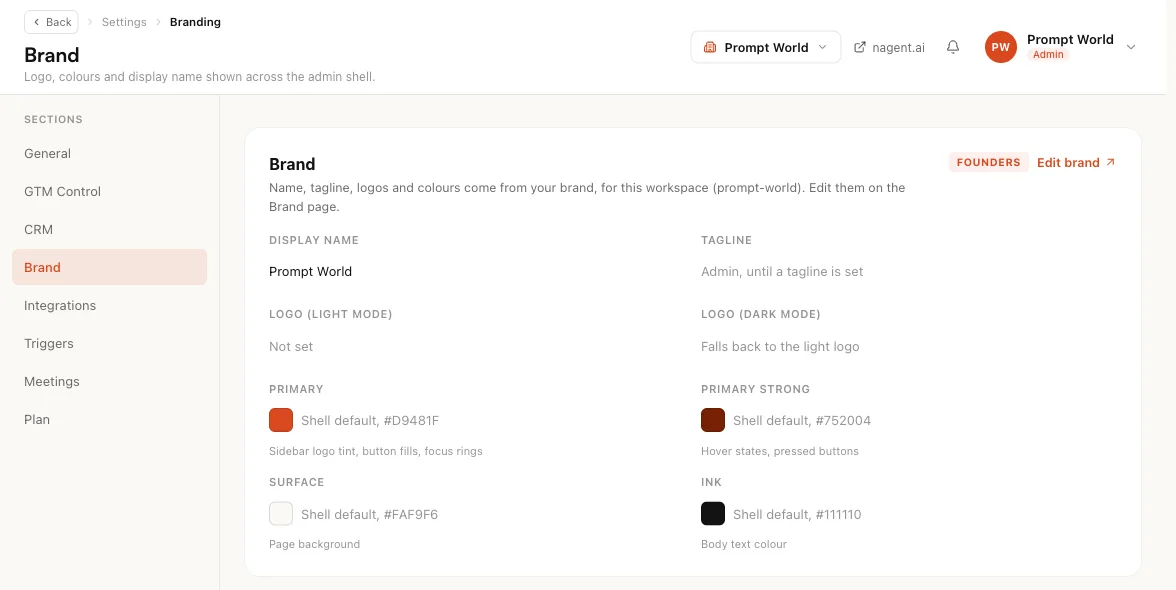
- Your workspace takes its name, logo and colours from this row. The Brand section of Settings shows them read only and points back here.
Changes reach agents within a few minutes, because the brand is cached briefly for each workspace.
Who can do this
Reading the screen needs content permission. Generating and editing the brand need content write permission. Extracting or confirming a voice, and saving workspace colours, need workspace settings permission. A workspace admin holds all of these.
Where to go next
- Bootstrapping from your website: crawl the pages your voice is drafted from.
- The Knowledge Hub: where brand fits among everything else agents know.
- Products and services: what you sell, as distinct from how you sound.
- RUPA, the image studio: brand-locked images in practice.