
Browse documentation
RUPA, the image studio
How RUPA renders images to a preset with your brand attached, when a render waits for your approval, what it costs, and where the finished plates are kept.
RUPA makes the pictures, and your brand travels with every one
RUPA is the image teammate in your Content studio. You describe the image you want, pick a format if you need one, and she renders a sheet of plates with your workspace's brand guidelines attached. Then she reads your brief back against the brand book, so you can see what she was told before you use what she made.
The studio is labelled Beta in its header: "New, and rough in places. The Edit and Write modes are not built yet." Everything below works today unless it says otherwise.
Open it from the sidebar under Content studio, then Brand Studio, then Image Studio, or go straight to nagent.ai/admin/rupa. You need permission to write content to render. The finished images live in the Asset Library beside it.
The studio, left to right
The studio has a left rail (presets, skills, references, brand kit), the thread and composer in the middle, and a bench on the right that shows the output spec and what the brand kit sends.
A new studio says "Describe the image you want." That is the whole first step.
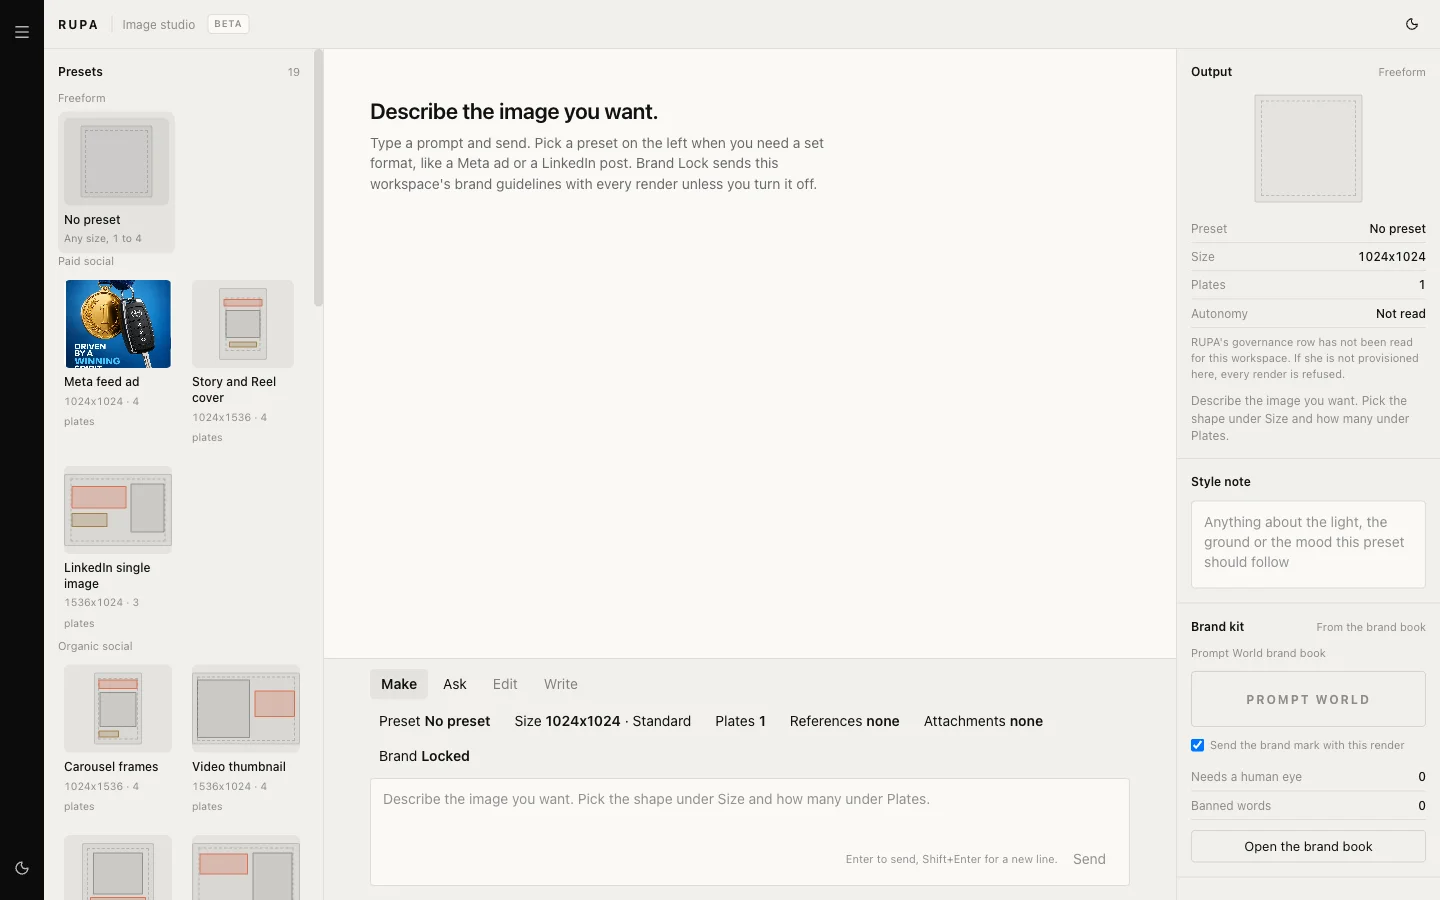
1. Pick a preset, or leave it on No preset
Presets are set formats. There are 19, in seven groups: Freeform, Paid social, Organic social, Profile and brand, Product, Life-cycle and Editorial. A preset fixes the size and how many plates you get, so a Meta ad or a LinkedIn post comes out at the right shape without you working it out.
The default is No preset: any size, one to four plates. Three sizes exist today: square, wide and tall. There is no 9:16 or custom crop yet.
Where Nagent has curated a sample for a preset, the tile shows it, so you can see the kind of image the format is for.
2. Write the brief
Type in the composer and press Send. Enter sends; Shift and Enter starts a new line. A brief can run to 4,000 characters.
The composer has four modes. Make renders. Ask answers from what is already loaded in the studio, with no render and no cost. Edit and Write are greyed out: not built yet.
Chips above the composer show what the brief carries: preset, size and quality (Standard or HD), plates, references, attachments and Brand Lock. Click one to change it.
3. Add a reference, if you want a look borrowed
References are images whose look a render borrows. Pick one from Nagent's shared set for this preset, from other presets, or from your own uploads, or choose Upload a reference. Copy to mine keeps one of Nagent's references in your own set.
Then say what to take from it. There are five choices, and each one shows what it Keeps and what it Drops:
- Match the style
- Reproduce the layout
- Change the headline
- Localise it
- Remix it
You can add a Style note in plain words as well.
4. Attach what must appear
Attachments are images the render must include, such as your product shot or your logo. You can pick from your image library or from images in the Knowledge Hub. A render takes up to ten input images.
Brand Lock
Brand Lock is on by default. While it is on, "This workspace's brand guidelines go with every render." The guidelines come from your brand book, which you edit from Open the brand book in the rail, or at nagent.ai/admin/brand.
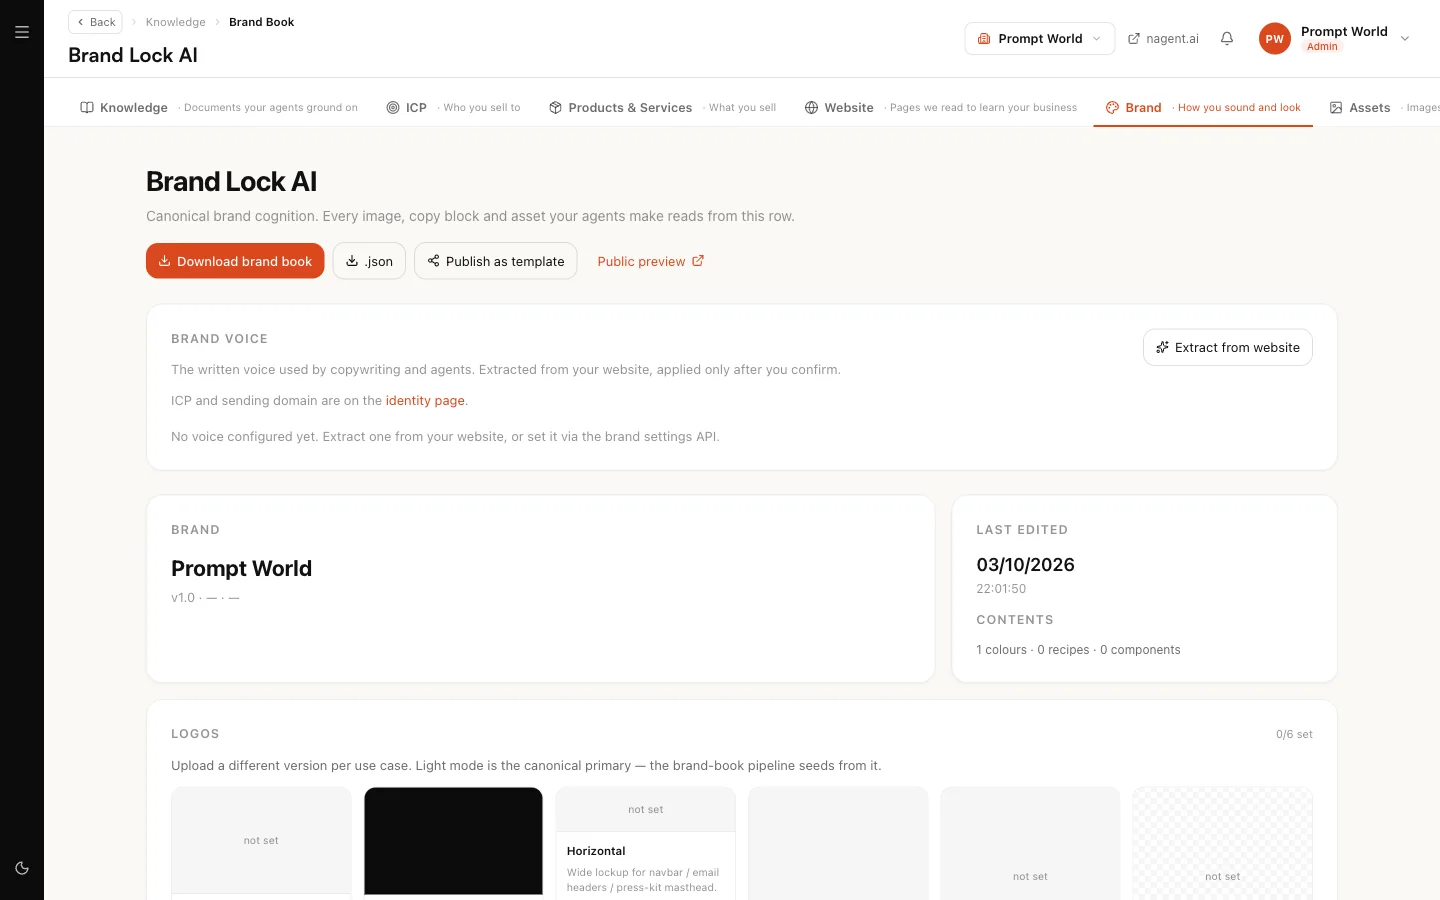
You can switch it off for one brief with Turn off for this brief. When it is off, no brand material goes with the brief at all, including your logo.
On the bench, Send the brand mark with this render decides whether your logo travels with the brief. What goes with every render shows the exact text that is sent.
Our logic: an image model knows nothing about your brand unless it is told, every time. Brand Lock makes that the default rather than something you have to remember, and the bench shows you what was said so nothing is hidden.
When a render waits for you
Whether RUPA renders straight away depends on her autonomy level, which you set in her page in the agent workbench. The bench shows the level under Autonomy.
| Level | What happens when you send |
|---|---|
| 0 or 1 | RUPA writes a plan and stops. She does not render. The plan says to raise her to Execute With Approval or above |
| 2 | A Plan card appears: "Nothing renders until you approve it." It shows the estimated spend. Click Approve and run to render |
| 3 or 4 | She renders at once: "Ran on standing approval." Every render is written to the audit log |
The approval at level 2 happens on the page, in the plan card. It does not go to your Inbox or the Actions page. A RUPA added with a content or marketing team starts at level 3. If the bench reads Not read, RUPA is not set up in this workspace and every render is refused.
Our logic: a render spends money. At level 2 the person who clicks Approve and run sees the cost before it is spent. Higher levels trade that click for speed, and the audit log keeps the record either way.
What it costs
The plan card at level 2 is the one place a cost appears: "Spend about $X on this render." The figure grows with HD quality, the number of plates and each input image.
At level 3 and above no plan card appears, so the studio shows no cost before or after a render. The spend still counts against RUPA's budgets, which are checked before anything is sent:
- RUPA's daily and monthly budget, set in the agent workbench.
- A per-action cap for one batch.
- Your workspace's own daily and monthly limits.
If a batch would go over, RUPA refuses and says which limit and by how much, for example that the batch costs more than her per-action cap, with what to change: fewer plates, standard quality, or a higher cap.
The plates
Rendered plates appear as a sheet in the thread. Each plate offers Vary, Export and Copy link, and RUPA's skills:
- Ad set builds the ad set from a plate.
- Restyle restyles it to a reference.
- Relight relights the subject.
- Cut out cuts the subject out.
A Brand check card follows the sheet. It lists banned words found in your brief and the rules that need your eye. It reads the brief, not the picture, so it does not judge the image itself. Look at the plates yourself before you use them.
If a plate shows "Not saved to library. Download to keep it.", saving failed. Download what you want; skills are not offered on an unsaved plate.
The Asset Library
Every saved render, and every file you upload, lands in the Asset Library at nagent.ai/admin/rupa/library. The same library is the Assets tab of the Knowledge Hub.
Filter by source (AI or Uploaded), search prompts or pick a category. Hover an asset to rename, retag, download, copy its link or delete it.
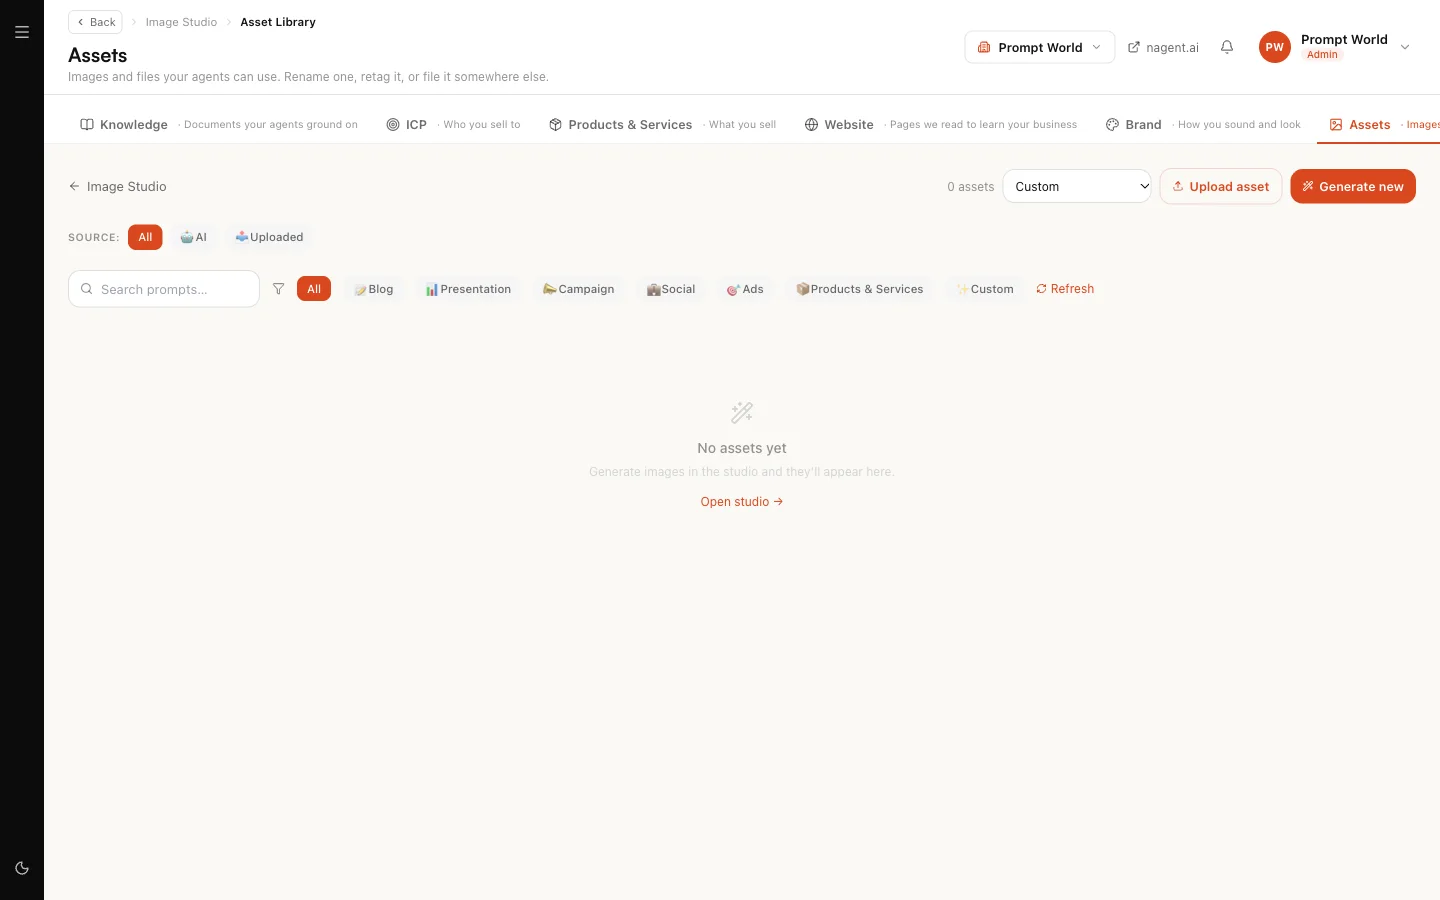
Admins see the whole workspace's library. Other people see only what they made or uploaded, and only the person who added an asset can edit or delete it.
Limits today
- Edit and Write modes are not built. Adjust the brief on a sent plan is not available yet: send a new brief instead.
- Cut out and the logo mark preset ask for a transparent background. If the image model refuses, the render fails with an error. Treat Cut out as unreliable for now.
- The brand check reads text, not pixels.
- Three sizes only, no 9:16.
Where to go next
- The Knowledge Hub: where your brand book and assets live.
- HOOK: the ad team lead, who can hand a brief to RUPA.
- MOXA: social posts that can carry a RUPA image.